File Downloads:
Transclude of lasercutting-v14.f3d
Transclude of lasercutting.dxfFor this weeks assignment we had to create a laser cut model that can be assembled using only plug connections. The design was modelled in Fusion 360, prepared in Affinity Designer and cut on the larger CO2 laser cutter of the Fab-Lab.
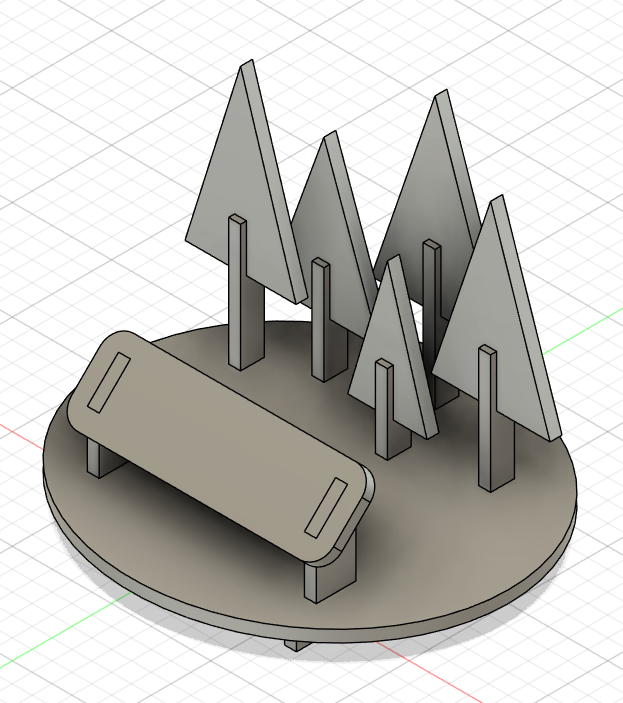
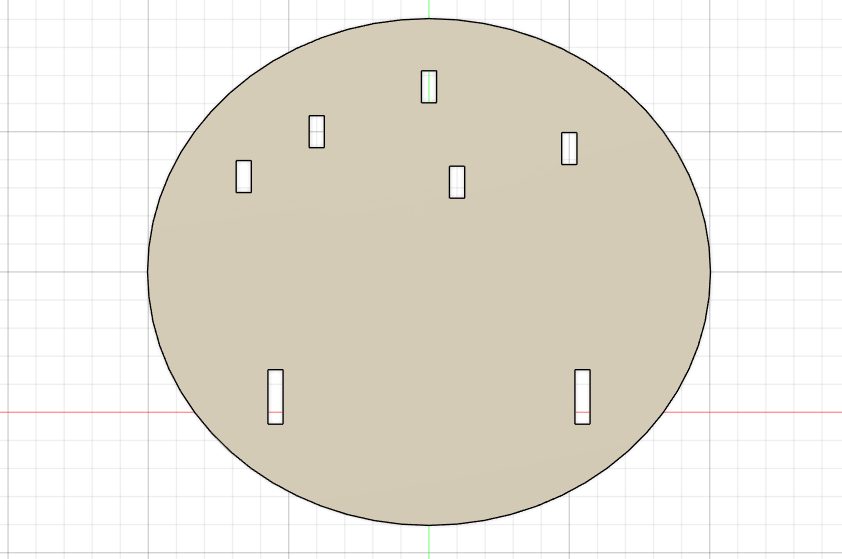
First I created the complete design in Fusion without considering offsets. Here I used a parameter for the material width (3mm).
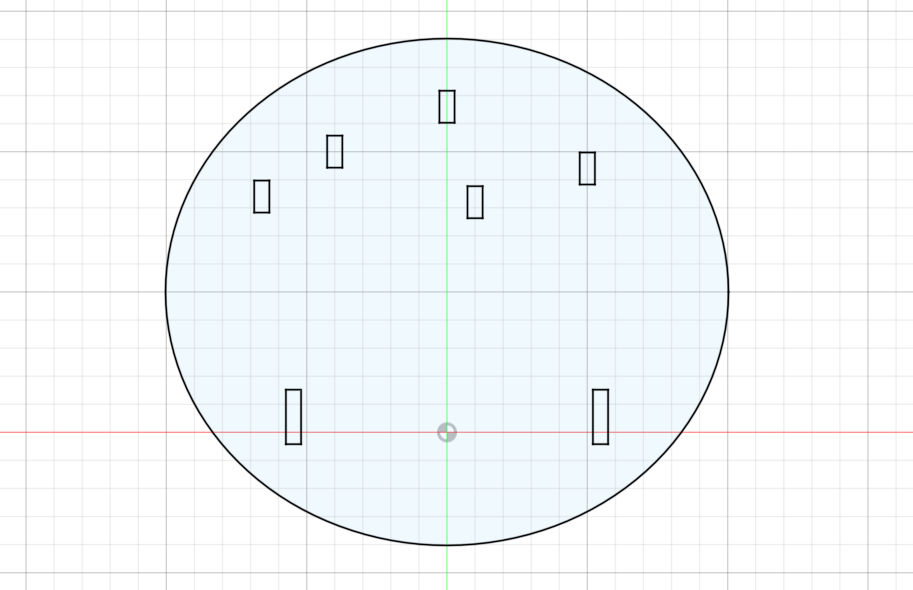 Afterwards I selected the different faces of the model and created another sketch based on them. I then created a parameter for the lasers kerf and used the offset tool to add the kerf to the new sketch. I also removed at least one line of the original sketch so that only the offset lines create a full face.
I then extruded the sketch with the added offset and created another sketch based on this to clean up all the construction lines. This sketch could then be exported as .dxf and imported into Affinity Designer.
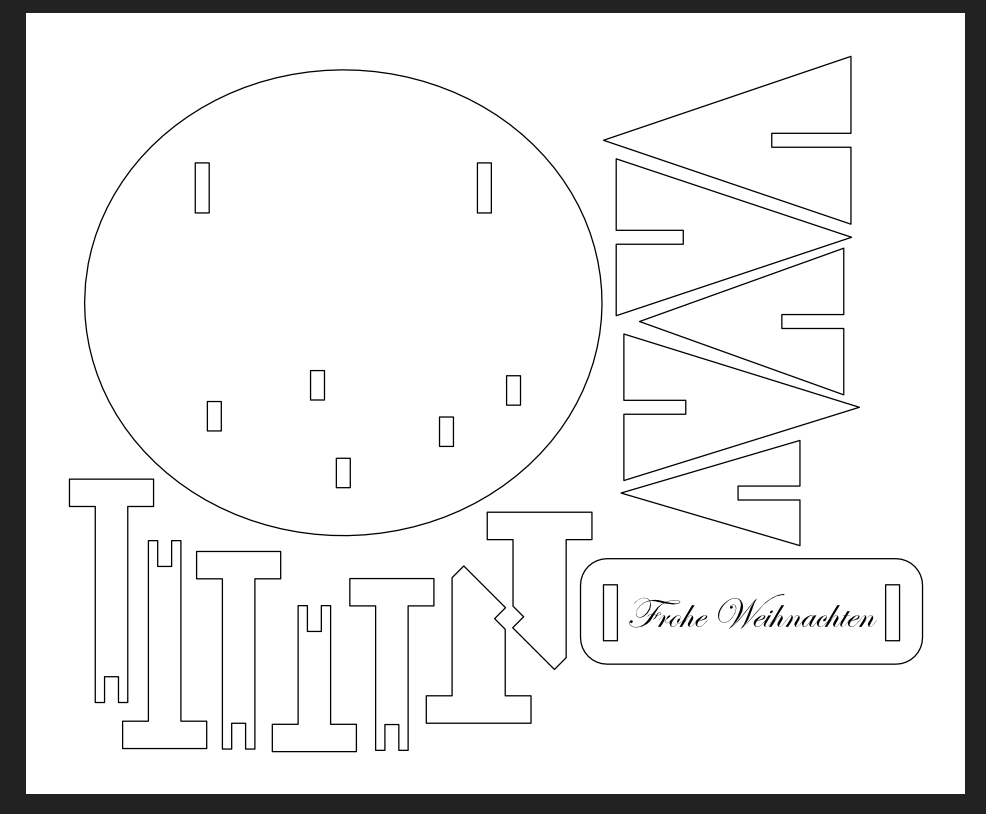 In Affinity Designer I aligned all the different sketches to safe as much material as possible and check all of the vectors. I also added the Text for later engraving. After that the file is ready the be cut.
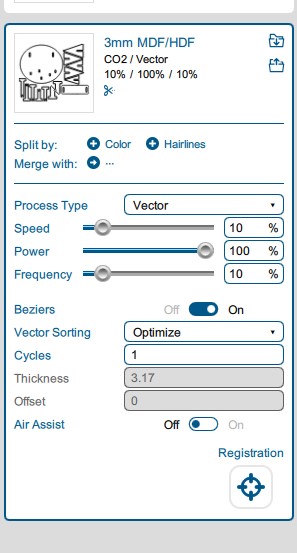
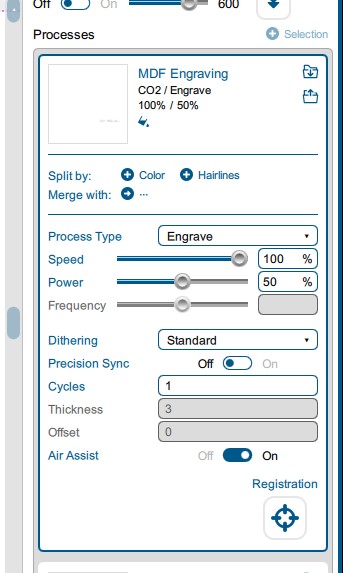
First I inspected the files again in Rhino and changed the stroke width to “hairline”. Then I hit “CTRL + P” to print the file and open the laser cutters program. There I split the model by hairlines and aligned it to the top left of the laser cutters print bed. I then selected the process types and materials for the two steps (cutting + engraving) and adjusted the power of the engraving step. The different settings can be found in the screenshots below.
After that I hit print and went to the laser cutter. I set the jog and adjusted the focus. After that I opened the Air Assist and started the ventilation system. Then I started the job.
Afterwards I waited a few seconds to let the fumes clear out and stopped the ventilation and air assist. Then the model was cut :)
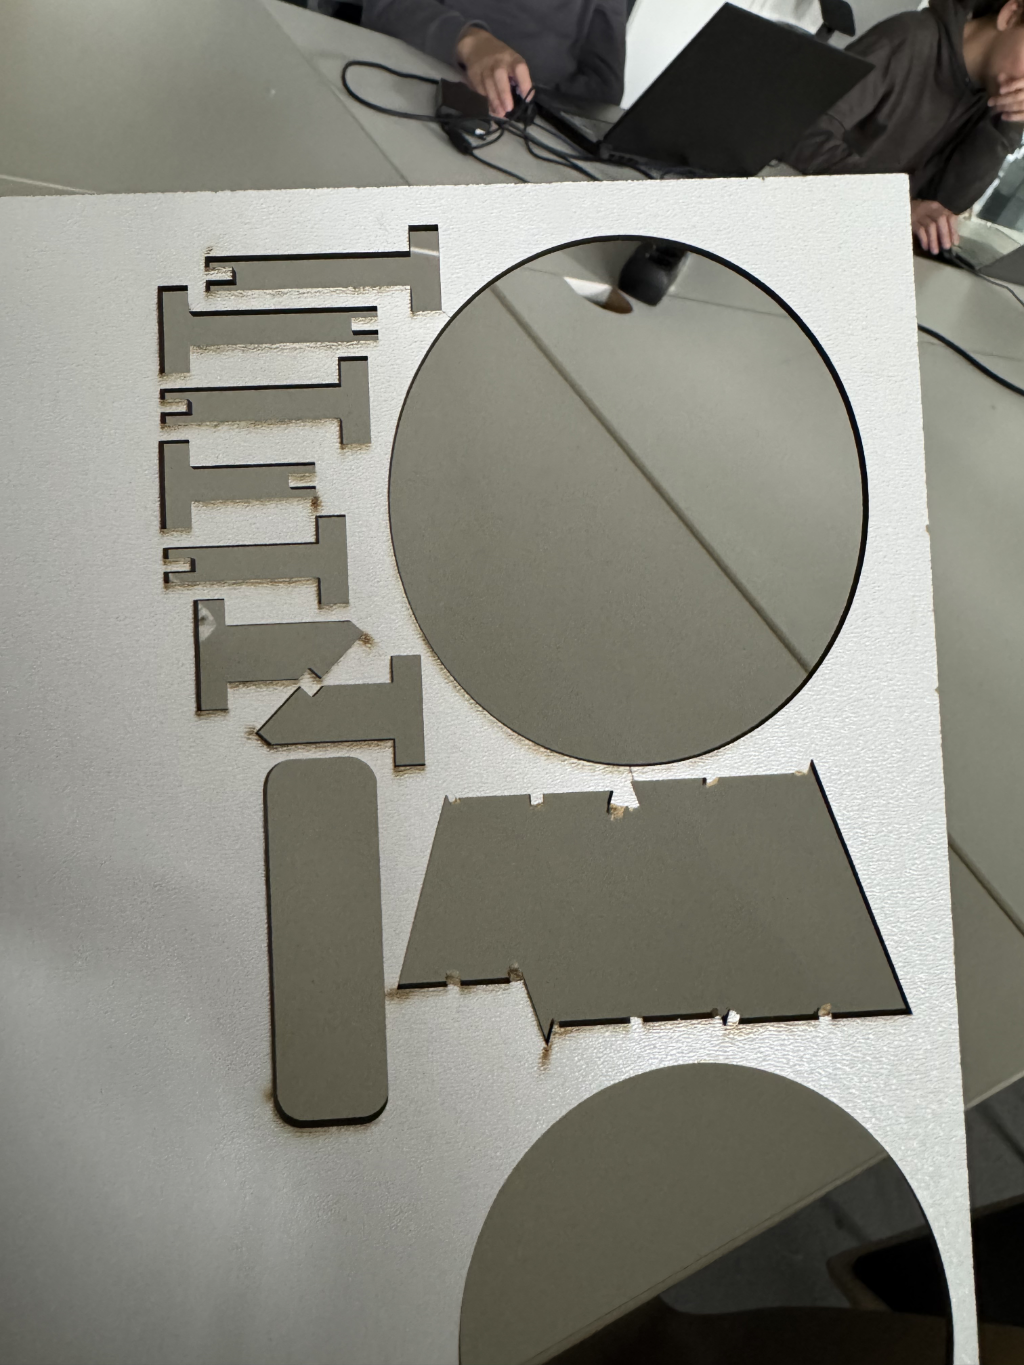
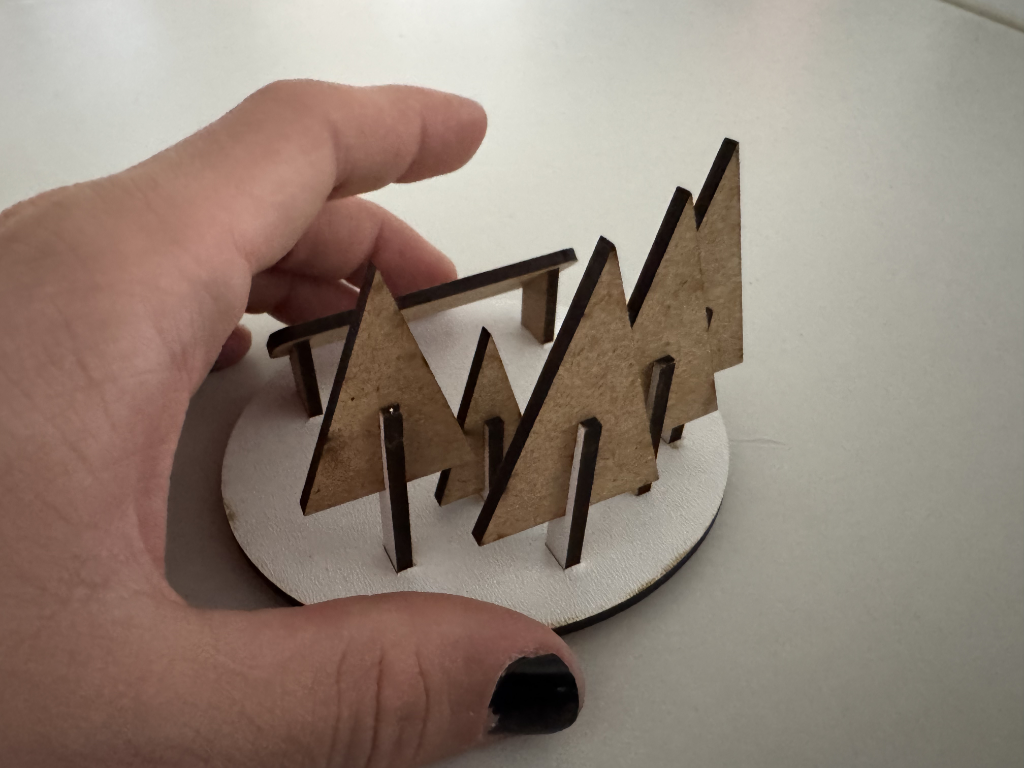
This is a picture of the cutout, although I broke a few connections.

Here you can see some of the resulting pieces from the cut. I then tried to assemble the pieces and found out that the kerf for the base plate was to much and the pieces didn’t fit. So I recut the baseplate.
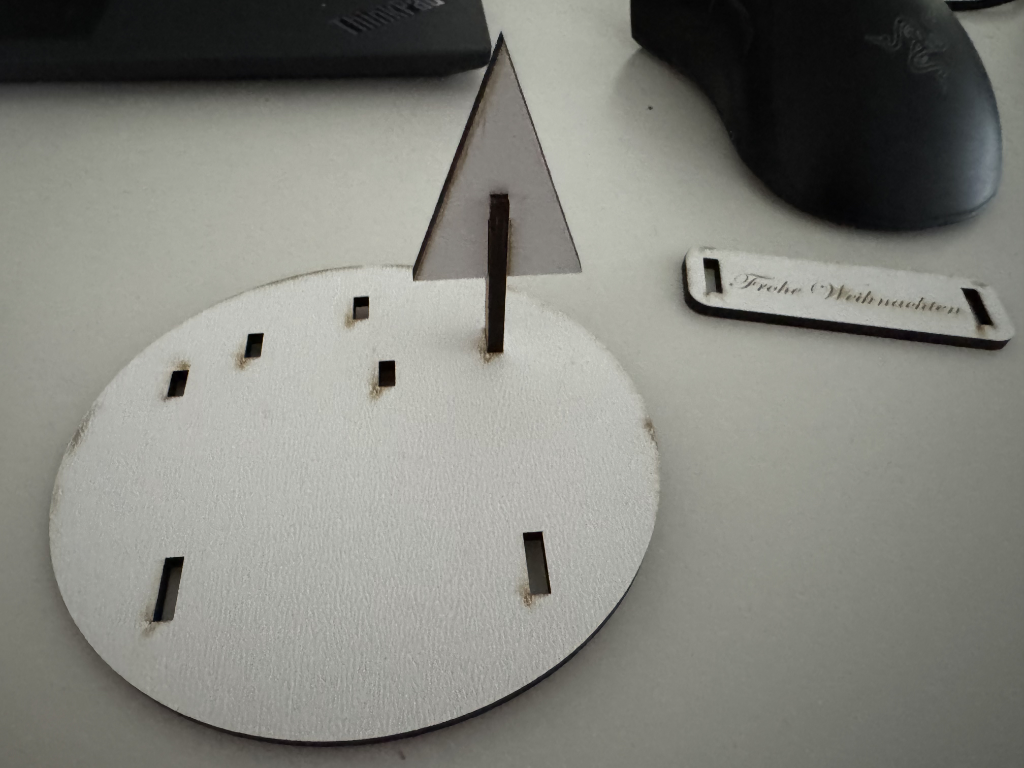
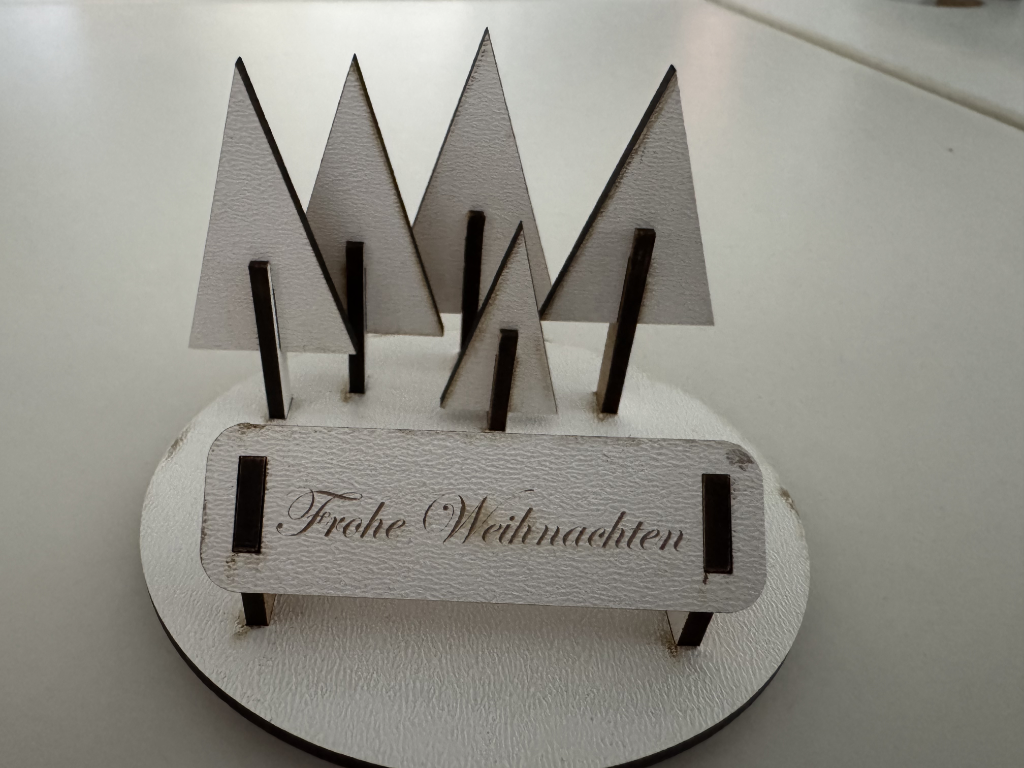
With the new base plate cut, I could start assembling the the piece. Here is the finished piece: